Task Templates
Task configuration is done through the task template. When configuring a user task, a template must be specified. The template includes various settings that affect the visibility of the task in the task list.
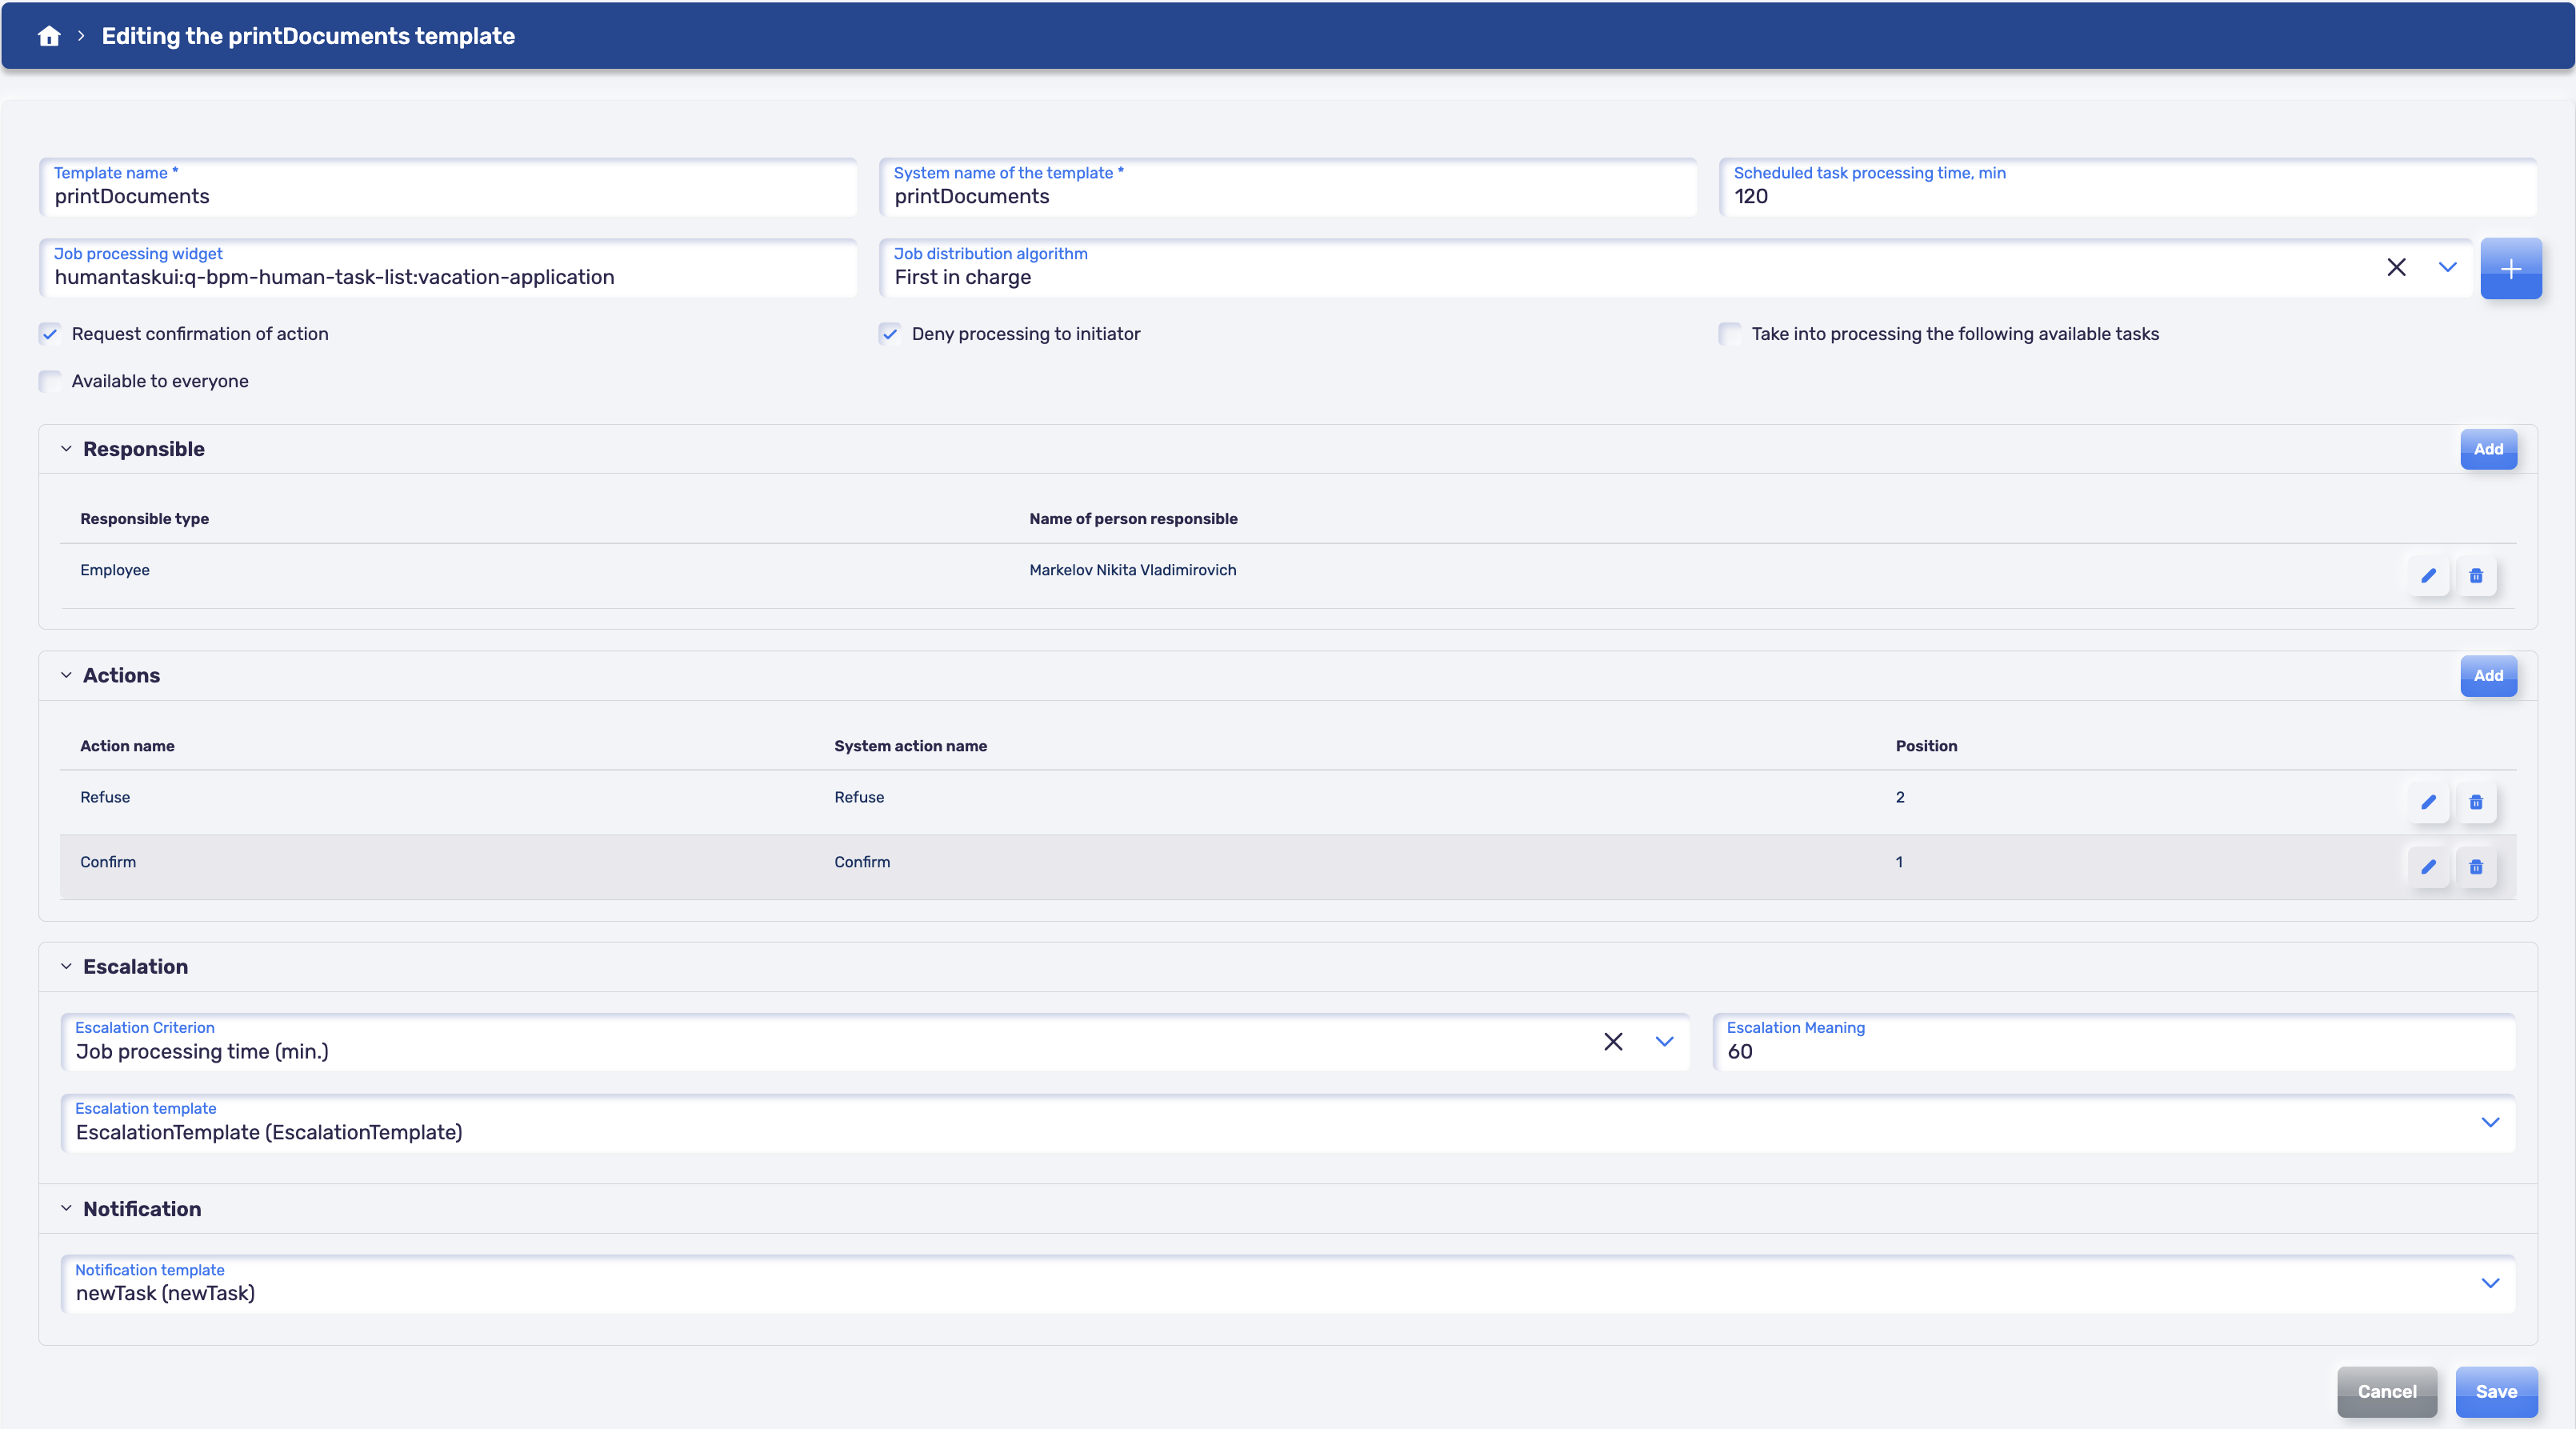
The user task template includes the following parameters:
- Name and system name of the template - how it will be displayed in the template list and what the user task will be called.
- Regulatory processing time, min - the time given to process the task from its creation. If this time is exceeded, the task is considered overdue and marked with a red "Exclamation Mark" icon.
- Distribution algorithm - the algorithm automatically determines the task performer (in case of unavailability, reassignment is available in the task list). Users can choose an available algorithm from the list or add a new one by clicking "+".
- User task processing widget - a link to a widget designed for the user, displaying and processing the necessary input data.
- Responsible parties - a list of objects (user, role, user group) who have access to view the task in the user task list.
- Actions - a list of actions available for task processing. The listed actions must be designed (and considered) as branches on the business process diagram.
- Notification - connect a customized notification to send information about a task.
- Escalation - configuration of escalation for the created user task based on conditions. When the escalation condition is triggered, a child task with the "Escalation" mark will be automatically created for the user task. Available escalation criteria:
Task processing duration - regulatory task processing time. If the specified value is exceeded, an "Escalation" task will be created.Exceeding the regulatory processing time - if the task has the "Overdue" mark, an "Escalation" task will be created.
When processing an "Escalation" task, the parent task does not close.
Template purpose
The Template purpose field on the General tab is required:
- BPMN process task — the default value; the template is used in business processes;
- Kanban board task — the template is connected to task boards as a task type and can have its own form of additional fields (see Task type fields).
If the template is created from the board settings, the Kanban board task purpose is selected and cannot be changed. After saving, the template tab closes and the template is added to the board task types.
The purpose cannot be changed if the template is connected to at least one board or has tasks. For such a template the BPMN process task option is unavailable and the hint "The template is connected to boards: N" is shown below the field. An attempt to change the purpose of a template that has tasks shows the message "Cannot change the template purpose: the template has tasks".
Selective Export and Import of Task Templates
In the task template list, you can selectively export and import templates.
Export
In the list, you can select one or more templates with checkboxes and export them — the file will contain the selected templates and the related objects required for them to load correctly. Before downloading, a preview of the export composition is shown.
If nothing is selected, all templates and algorithms are exported — the behavior is the same as a full export.
Import
When a file is uploaded, a preview of its contents is shown first: the templates from the file, an "already exists" flag, and escalation references — without applying them to the data. The user selects which templates to load.
If nothing is selected, all templates from the file are applied — the same behavior as a full import. The upload response returns the list of applied and skipped templates.
Every export and import operation is recorded in the task template transfer protocol.
Task processing interface
If you need to use an external interface in a human task, then you need to specify it in the human task template.
The following interfaces can be used for a human task:
- Interface from the registry of the Q.Palette web components.
- Web component
- Widget
Connecting the widget
To connect a widget, you need to specify its name in the form: <ui service name> : <component name> : <widget name>.
The widget can be made in the User Interface Designer or made by the developer himself.
The widget must be installed on the stand where it needs to be connected.
For the widget to work correctly with the task, it is necessary to embed the widget [according to the instructions from the documentation.] (/doc-faq#creating-a-widget-and-using-it-in-a-custom-task-template)
Connecting the Web component
In a human task, you can use both an external web component and a web component from the Web Component Registry.
The external web component connects to the specified URL as part of the application. Example URL of a web component:
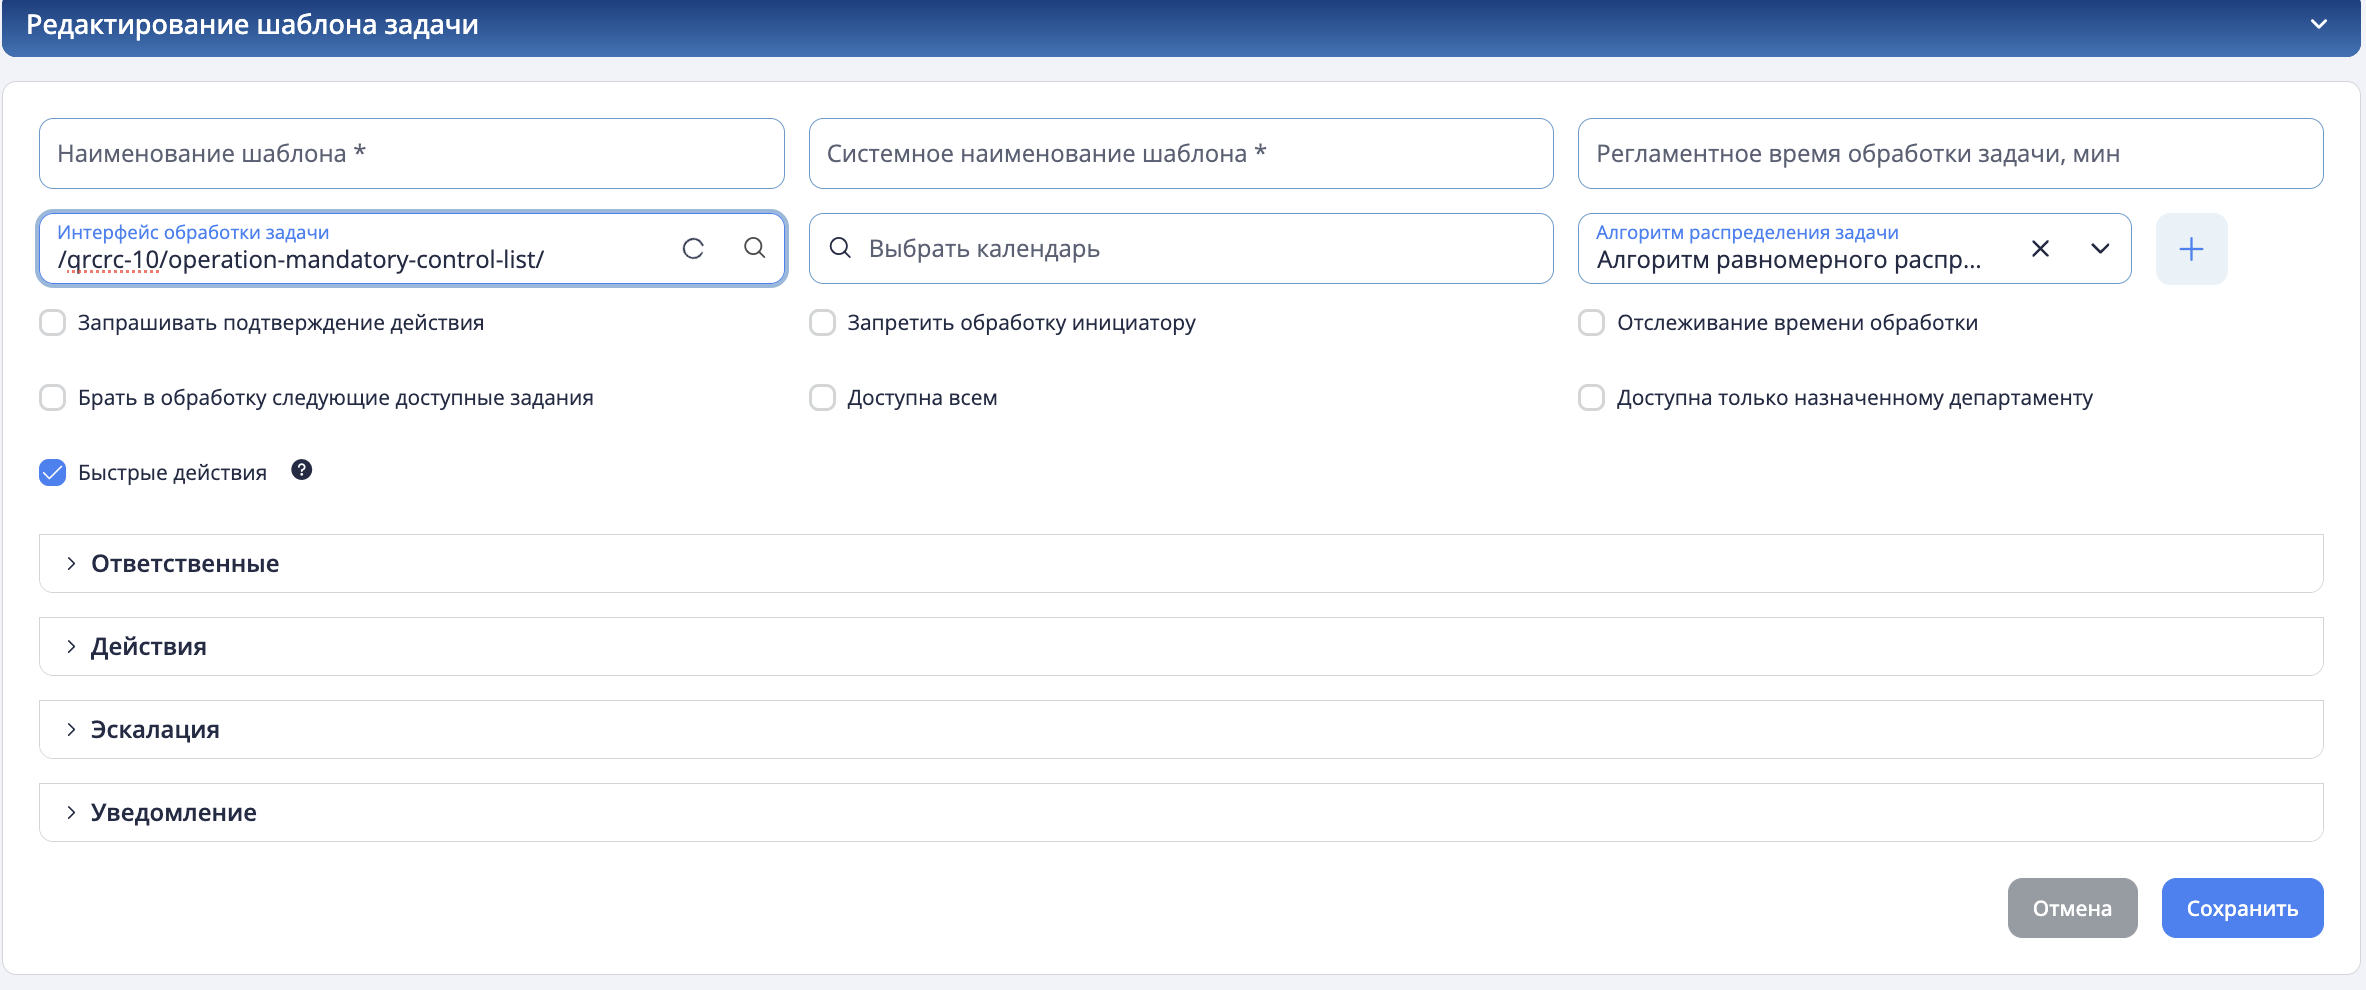
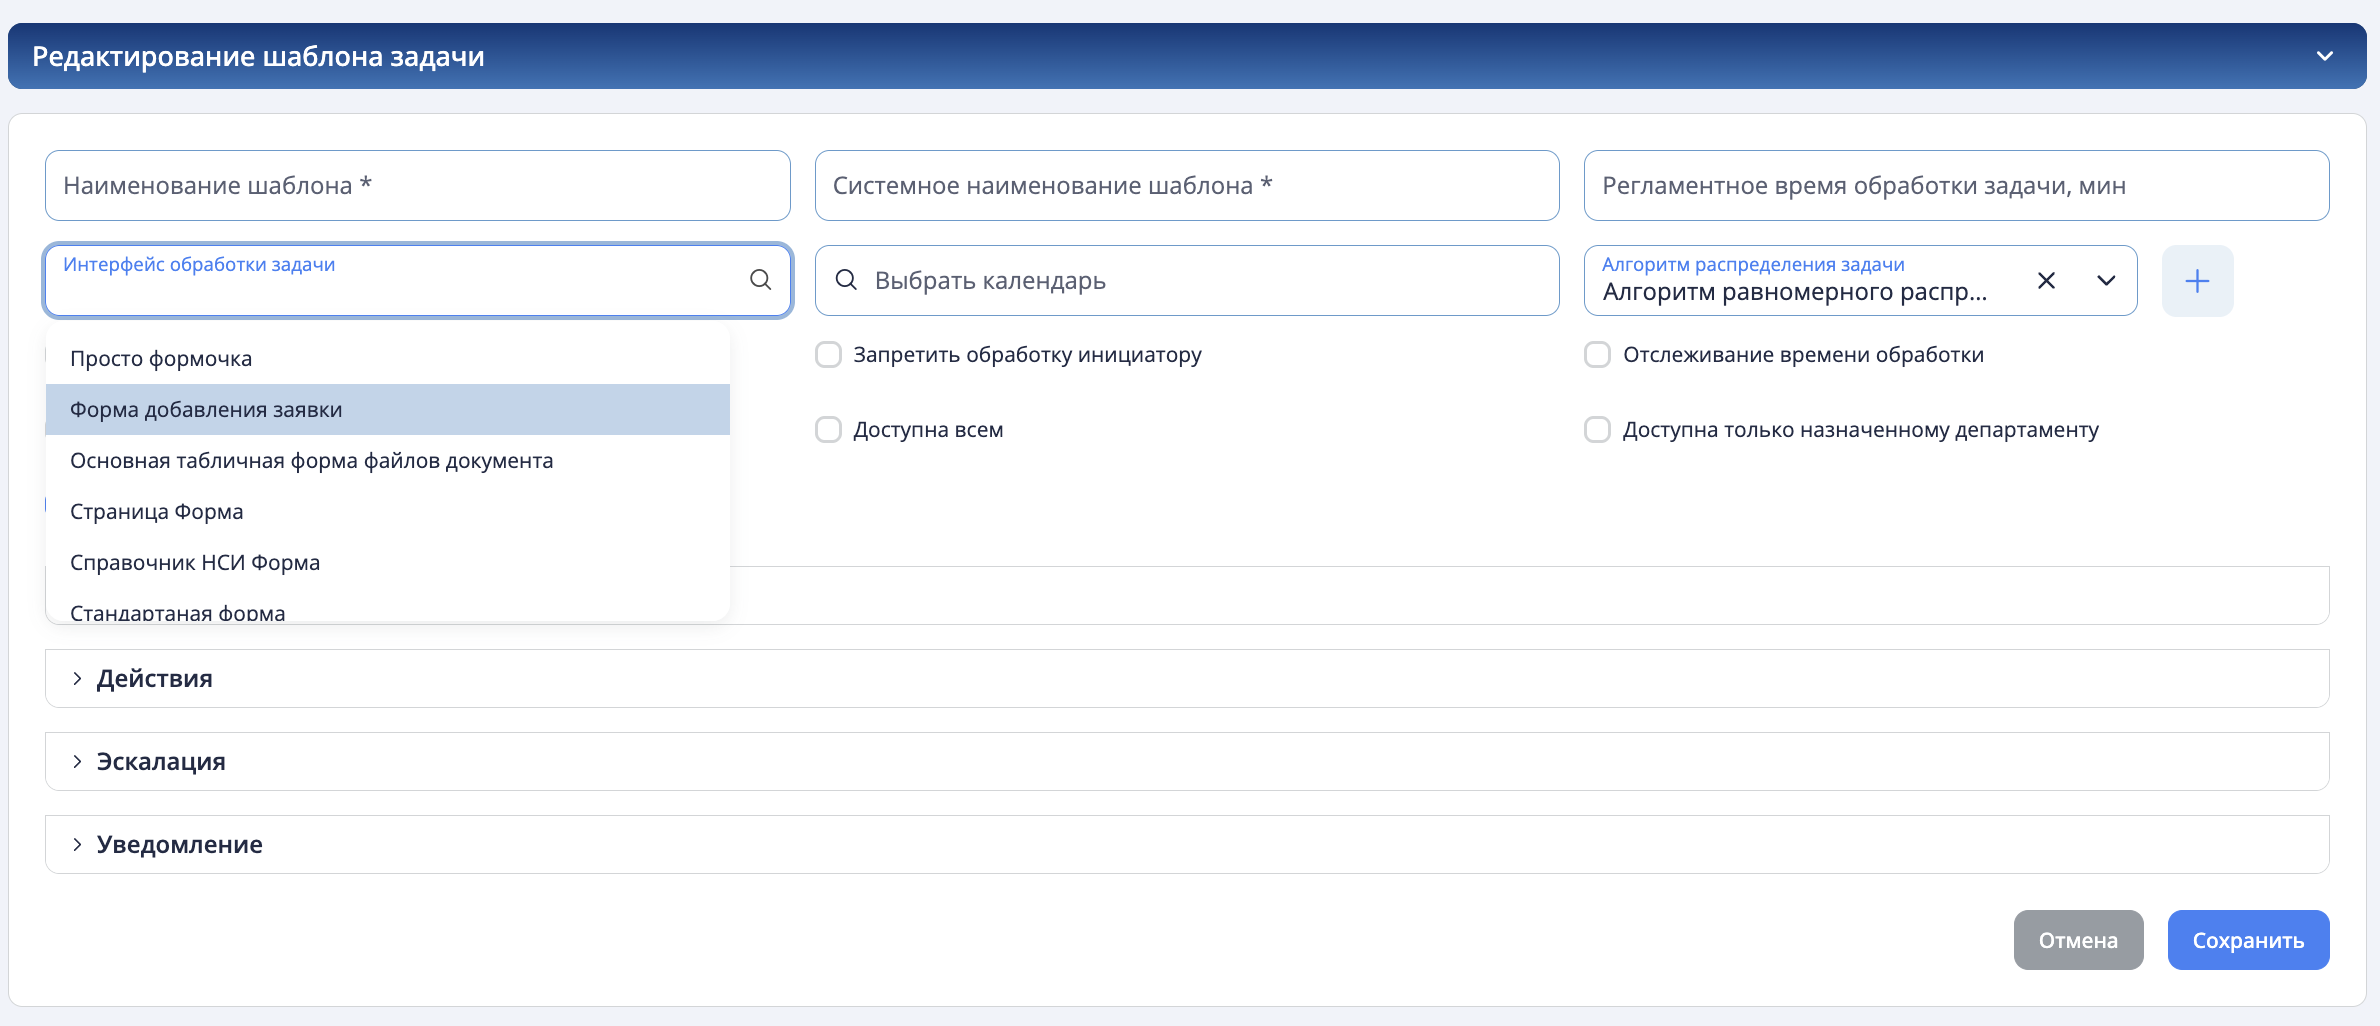
If a web component is used from the Web component registry, then simply select it from the list in the task template by name.
Important! You cannot interact with the task from the web component in any way or insert anything into the task.